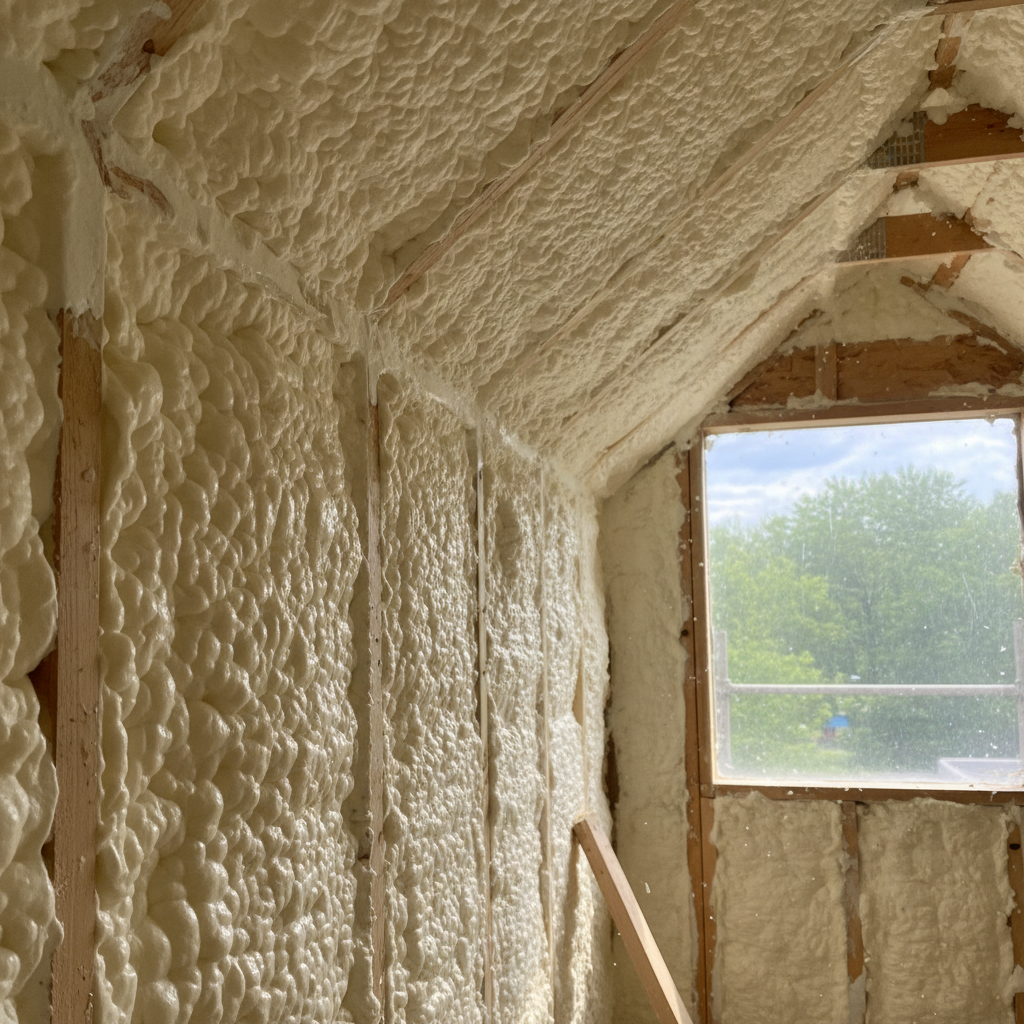
Closed-Cell Spray Foam: What's the Deal?
Alright, let's talk about closed-cell spray foam. You've probably heard the buzz, and honestly, there's a good reason for it. This isn't your grandma's old-school insulation. It's a dense, rigid material that really expands, filling every single crack and crevice. That creates an incredibly effective air and vapor barrier. For a city like Philly, with our old rowhomes and their drafty basements, or those brutal winter winds whipping off the Delaware, closed-cell spray foam can seriously change things.
It's not just about keeping the heat in or out, either. It adds structural integrity, helps control moisture, and even cuts down on outside noise. But before you jump in, you really need to know what you're getting into. For most folks, especially with closed-cell, this isn't a weekend warrior project.
Before You Even Think About Spraying
First things first: what exactly are you trying to insulate? Closed-cell works great for crawl spaces, rim joists, basements, and even exterior walls. It's got a higher R-value per inch than open-cell, which means you get more insulation into a smaller space. That's a big deal if you're dealing with tight cavities in an old Fishtown trinity, isn't it?
You need to check out the area. Is it clean? Dry? Are there any moisture problems already? You absolutely cannot spray over wet surfaces or active leaks. If you've got a leaky foundation, that needs fixing *first*. Don't try to just cover up a problem; you'll only make it worse. Also, think about what's in the space. Are there electrical wires, plumbing pipes, or HVAC ducts? These will all get covered, so make sure they're in good shape and won't need immediate access.
This is also the time to decide: DIY or Pro? Look, I'm a contractor, so you know I'm going to suggest calling the pros for this. Closed-cell spray foam needs specialized equipment, proper safety gear, and a lot of training to apply correctly. The chemicals involved are serious business, and getting the mix ratio wrong can lead to a product that doesn't cure right, off-gasses, or just doesn't work. You can rent small DIY kits, but honestly, for anything beyond a tiny patch job, you're playing with fire. A professional job might seem expensive upfront, but compared to messing up a whole area and having to pay for remediation, it's usually the smarter move.
During the Project: What to Expect
If you're hiring a pro (and you probably should be for closed-cell), they'll handle most of this. But here's what's typically happening:
- Prep Work: This step is huge. Everything that shouldn't get foam on it needs covering. We're talking plastic sheeting over windows, doors, floors, and any exposed surfaces. Spray foam is incredibly sticky, and it's nearly impossible to remove once it's cured.
- Ventilation: Good ventilation is critical during application. Professionals use powerful fans and respirators. You, your family, and pets need to be out of the house. Seriously, don't be around when it's being sprayed.
- Application: The contractor sprays the two-part liquid mixture, which expands and hardens really fast. They'll aim for a consistent thickness. This takes skill; too thin, and it won't be effective; too thick, and it can actually cause other issues.
- Trimming (if needed): Sometimes, especially in wall cavities, any excess foam might need trimming flush.
If you're attempting a small DIY kit, you absolutely need a full-face respirator, gloves, and protective clothing. Make sure the area is well-ventilated, and follow the kit's instructions to the letter. Don't skimp on safety gear; your lungs will definitely thank you.
After the Foam is Sprayed
Once the application is done, the foam needs time to cure. This usually takes 24-72 hours, depending on the product and conditions. During this time, it's still best to keep the area unoccupied. You might notice a slight odor, which should dissipate as it cures. Good ventilation during and after the initial cure helps a lot.
After it's fully cured, you'll have a hard, rigid, and incredibly well-insulated surface. You can then cover it with drywall, paneling, or whatever your finishing plans are. For places like basements or crawl spaces, often it's just left exposed. Just make sure you check local building codes; sometimes a fire-resistant coating is required over exposed foam, especially in living spaces.
Maintenance? There isn't much to do. Once it's in, it's in for good. It won't settle, sag, or degrade like some other insulation types. If you ever need to run new wires or pipes through it, you'll have to cut it out, which isn't a huge deal but does require a bit of effort.
Closed-cell spray foam is a premium product, and it's an investment that really pays off in energy savings and comfort. When a company like Spray Foam Pros of Philadelphia does it right, it's one of the best upgrades you can make to your home.